Knitting is a craft rich in history, filled with techniques that can be both simple and intricate. Among the many knitting stitches, one of the most commonly used and beginner-friendly is the stockinette stitch. Recognizable by its smooth front and bumpy back, stockinette stitch is often found in sweaters, scarves, hats, and even socks. It creates a clean and consistent texture, making it an ideal choice for both functional and decorative knitting projects. Understanding how to knit stockinette stitch and its uses can elevate your knitting skills and open up a variety of creative possibilities.
Understanding Stockinette Stitch
Stockinette stitch, also known as stocking stitch, is created by alternating rows of knit and purl stitches. When worked flat (on straight needles), one row is knitted and the next is purled, repeating this sequence throughout the fabric. When worked in the round (on circular needles or double-pointed needles), stockinette stitch is achieved by knitting every round, since the purl side is never exposed to the front.
Characteristics of Stockinette Stitch
Stockinette stitch has several key features that distinguish it from other knitting patterns:
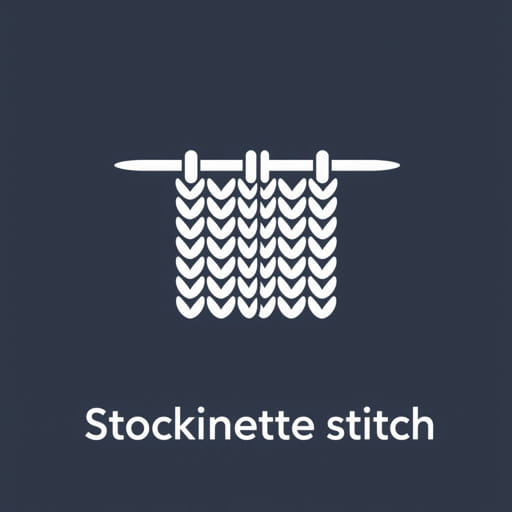
- Texture: The front side, or ‘right side,’ displays a series of ‘V’ shapes, creating a smooth surface. The back, or ‘wrong side,’ shows horizontal bumps or purl ridges.
- Stretch: It has a good amount of vertical stretch, making it comfortable to wear. However, it tends to curl at the edges, which is something knitters must manage.
- Simplicity: Only two basic stitches are required knit and purl making it accessible to beginners.
- Speed: Because of its repetitive nature, it’s one of the fastest stitches to knit once you get into a rhythm.
How to Knit Stockinette Stitch
Whether you are working flat or in the round, the method of creating stockinette stitch slightly differs. Below are simple steps to guide you through both versions.
Knitting Stockinette Stitch Flat
- Cast onyour desired number of stitches using your preferred cast-on method.
- Row 1 (right side): Knit all stitches.
- Row 2 (wrong side): Purl all stitches.
- Repeat Rows 1 and 2 for the desired length of fabric.
This creates the classic look of stockinette, with a smooth front and bumpy back.
Knitting Stockinette Stitch in the Round
- Cast onstitches and join in the round, being careful not to twist your stitches.
- Round 1: Knit all stitches.
- Repeatthis round until your fabric reaches the desired length.
In this version, there’s no need to purl every other row since the right side is always facing you.
Managing Curling Edges
One of the most common issues with stockinette stitch is that the fabric tends to curl at the edges. This is due to the imbalance of tension between the knit and purl sides. There are a few effective methods to manage or prevent curling:
- Add borders: Incorporate garter stitch, seed stitch, or ribbing along the edges to help counteract the curl.
- Blocking: Wet blocking or steam blocking the finished piece can help flatten the fabric.
- Use heavier yarn or needles: Sometimes a slight change in gauge helps reduce curling.
Common Uses for Stockinette Stitch
The versatility of stockinette stitch makes it a popular choice for many types of knitting projects. Its smooth texture highlights yarn color and fiber content beautifully, and its flexibility makes it ideal for garments.
Garments
- Sweaters: Especially in minimalist or modern designs, stockinette stitch allows for clean lines.
- Socks: The stretchy quality of stockinette makes it perfect for form-fitting socks.
- Hats and gloves: Offers warmth and smooth fabric that feels nice on the skin.
Accessories
- Scarves and shawls: Stockinette stitch can create elegant drape, although edge treatments are important to avoid curling.
- Baby blankets: Simple and soft for delicate skin, often paired with decorative borders.
Combining Stockinette with Other Stitches
While stockinette stitch is beautiful on its own, it also pairs well with other stitch patterns to create texture and interest. Designers often use it in combination with:
- Ribbing: Great for cuffs, collars, and hems to provide structure.
- Lace panels: The smooth background enhances intricate lace work.
- Cables: The even surface makes cables stand out more clearly.
These combinations allow knitters to create both functional and visually appealing fabric.
Tips for Perfecting Your Stockinette Stitch
As simple as stockinette stitch is, attention to detail can improve the quality of your finished piece. Here are some useful tips to keep in mind:
- Consistent tension: Maintain even tension between knit and purl rows to avoid unwanted row gaps or uneven fabric.
- Stitch markers: Use them to mark pattern changes or row beginnings when knitting in the round.
- Practice purling: A neat purl stitch is just as important as a knit stitch for balanced fabric.
- Count your rows: Especially when matching pieces like sleeves or panels, keep track of your row count to ensure symmetry.
Stockinette Stitch and Yarn Choice
The look of stockinette stitch can vary greatly depending on the yarn used. Smooth yarns like merino wool or cotton show off the clean lines of the V stitches, while fuzzy yarns like mohair create a softer, more blended effect. Variegated yarns can add color variation, but might obscure detailed shaping unless carefully planned.
Yarn weight also affects the outcome. Fingering-weight yarns produce delicate stockinette, ideal for fine garments, while chunky yarns create bold, highly visible stitches that stand out more dramatically.
Stockinette stitch is a fundamental knitting technique that every knitter should master. It is versatile, easy to learn, and forms the foundation for many patterns. Whether you’re creating simple accessories or advanced garments, stockinette provides a canvas for creativity. By understanding its structure, uses, and how to manage its natural tendencies like curling, you can confidently incorporate it into your knitting projects. Once you’ve mastered it, stockinette stitch will likely become one of your most frequently used tools in knitting design.